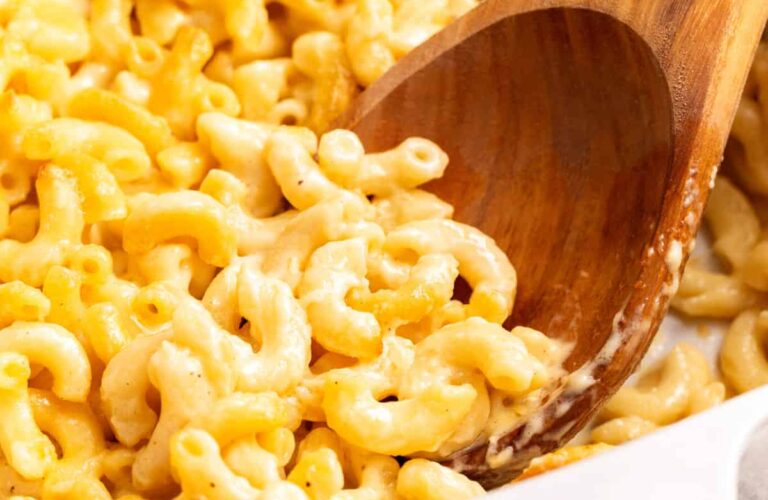
Cracker Barrel Mac and Cheese is an easy homemade side dish of elbow pasta baked in a creamy Colby cheese sauce with chicken broth. So it works as a quick weeknight dinner favorite for potluck gatherings or holiday celebrations, since everything comes together in just thirty minutes.
Whisking the flour into the melted butter before adding any liquid matters most, because skipping this step leaves the sauce thin and grainy. You need a smooth paste first, which thickens the broth and cream into a sauce that clings to every noodle without breaking.
This version uses chicken broth and heavy cream instead of milk, which gives the sauce a savory richness that plain dairy cannot match. The Colby cheese melts smoother than sharp cheddar, so the sauce stays silky instead of turning grainy as it bakes.
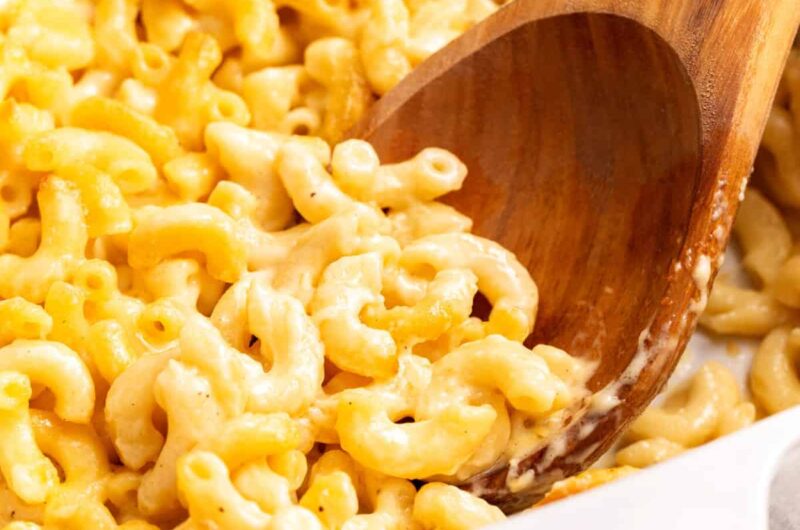
Cracker Barrel Mac and Cheese
Course: Side DishCuisine: AmericanDifficulty: Easy8
servings10
minutes20
minutes594
kcalElbow pasta in a Colby cheese sauce made with butter, flour, chicken broth and heavy cream, then baked at 350F until golden on top. A simple copycat of the famous Cracker Barrel restaurant side dish.
Ingredients
3 cups dry elbow pasta
2 tablespoons butter
2 tablespoons flour
1 1/2 cups chicken broth
2 cups heavy cream
2 1/2 cups shredded Colby cheese
1 teaspoon salt
1/4 teaspoon ground black pepper
Directions
- Boil the pasta:Bring a large pot of water to a boil and cook the elbow pasta to al dente according to the package directions, then strain and toss with about 1 tablespoon of olive oil to prevent sticking.
- Preheat the oven:Set the oven to 350F while you make the sauce.
- Melt the butter:Add the butter to a large saucepan and heat over medium high until melted.
- Build the roux:Whisk the flour into the melted butter until there are no lumps and you have a smooth paste.
- Add the liquids:Slowly whisk in the chicken broth, stirring constantly to blend it evenly, then whisk in the heavy cream.
- Melt the cheese:Remove the pot from the heat, stir in the shredded Colby cheese until completely melted, and season with salt and pepper.
- Combine and bake: Toss the cooked pasta into the cheese sauce, stir to coat evenly, pour into a 9×13 baking dish and bake for 10 minutes until the top is golden brown.
FAQs
Can you assemble this mac and cheese ahead of time?
You can mix the pasta and sauce, then pour it into the baking dish and refrigerate for up to a day before baking. Add five extra minutes since the dish starts cold, and check that the top turns golden before pulling it out. Cover with foil for the first half though, because that keeps the edges from drying out.
Does this recipe work without chicken broth?
Vegetable broth works as a straight swap and keeps the dish vegetarian, while still adding the same savory base to the sauce. Whole milk is another option though, since it gives a milder and more traditional mac and cheese flavor. The texture stays the same either way, because the flour and butter handle all of the thickening.
What pasta shape works best for this dish?
Elbow macaroni is the classic choice, since the curved tubes trap cheese sauce inside each piece for a saucy bite. Cavatappi and shells work well too though, because their ridges hold the sauce just as firmly. Avoid long noodles like spaghetti or fettuccine, since the sauce slides right off those shapes.
Can you add protein to turn this into a main course?
Shredded rotisserie chicken is the easiest add, since you can stir it straight into the sauce with the pasta before baking. Crumbled bacon or diced ham work well too, because the salty pork complements the Colby cheese. Mix the protein in gently though, so you do not break the pasta or thin out the sauce.
How do you get the top golden without drying out the pasta?
Ten minutes at 350F is enough for a light golden crust, since the sauce underneath stays protected by the layer of cheese on top. Keep the dish on the center rack though, because the bottom rack browns the edges too fast. Pull it as soon as the top has color, and the pasta below will still be saucy.