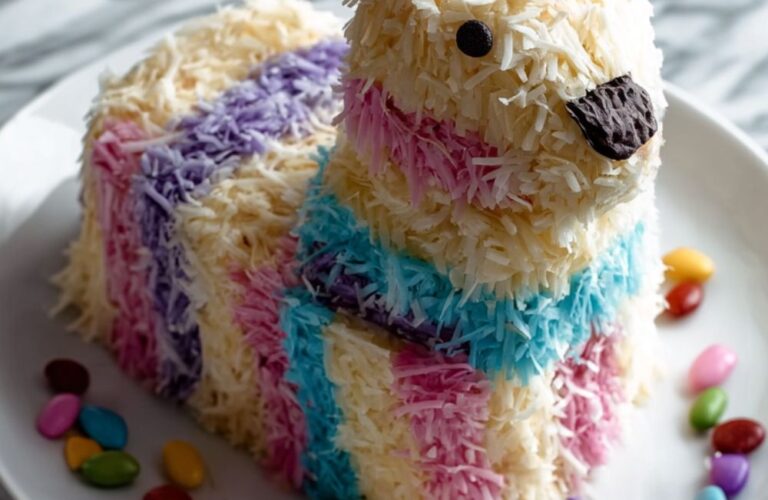
This Piñata Cake Recipe is a fun and colorful recipe, which is made with vanilla cake mix and shredded coconut. It’s the perfect party centerpiece, ready in about 3 hours (including cooling).
Jump to RecipePiñata Cake Ingredients
For the Cake:
- 2 (16-to-18-ounce) boxes chocolate cake mix
- Ingredients as called for on the cake mix boxes (typically water, oil, and eggs)
For Assembly & Decoration:
- 7 wafer ice cream cones
- 2 (16-ounce) tubs vanilla frosting
- 3 (7-ounce) bags shredded sweetened coconut
- Gel or neon food coloring (purple, yellow, blue, orange, and pink)
- Black icing, for decorating
- Assorted small candies for the filling (optional, see Recipe Tips)
How To Make a Piñata Cake
- Prep Oven and Bake Cakes: Preheat the oven to 325°F. Coat two 9×5-inch loaf pans with cooking spray and line them with parchment paper, leaving an overhang on the sides. Prepare the cake mixes as directed on the box. Fill the pans about two-thirds full with batter.
- Bake and Add the “Snout”: Bake the cakes for 45 minutes. Remove one cake from the oven and gently insert the top half-inch of an ice cream cone into the batter, about 1.5 inches from one end. Continue baking both cakes for another 10 to 15 minutes, until a toothpick comes out clean. Let the cakes cool completely.
- Sculpt the Body and Head: Use a serrated knife to trim the domed top off the cake without the cone; set this cake trimmed-side down to be the body. Use a dab of frosting to “glue” 4 ice cream cones to the four corners to act as legs. Trim the bottoms of the 2 remaining cones to make pointed “ears.” Cut the cake with the baked-in cone in half to form the head (you will only need the front half with the cone “snout”). Use frosting to attach the “ears” to the top of the head. Place both the body and head sections in the freezer to firm up.
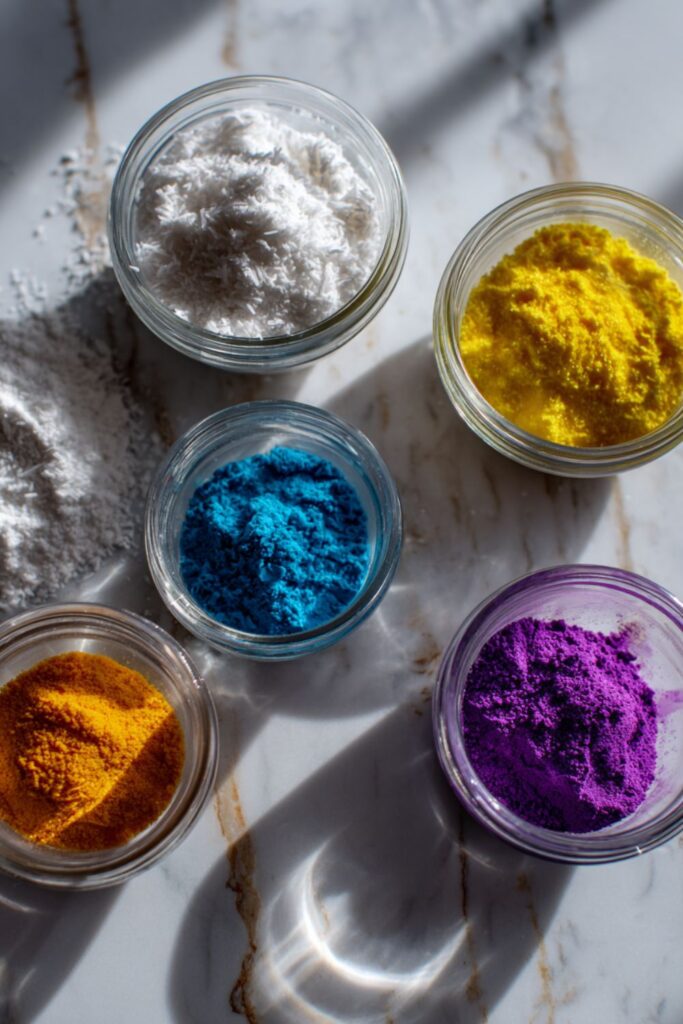
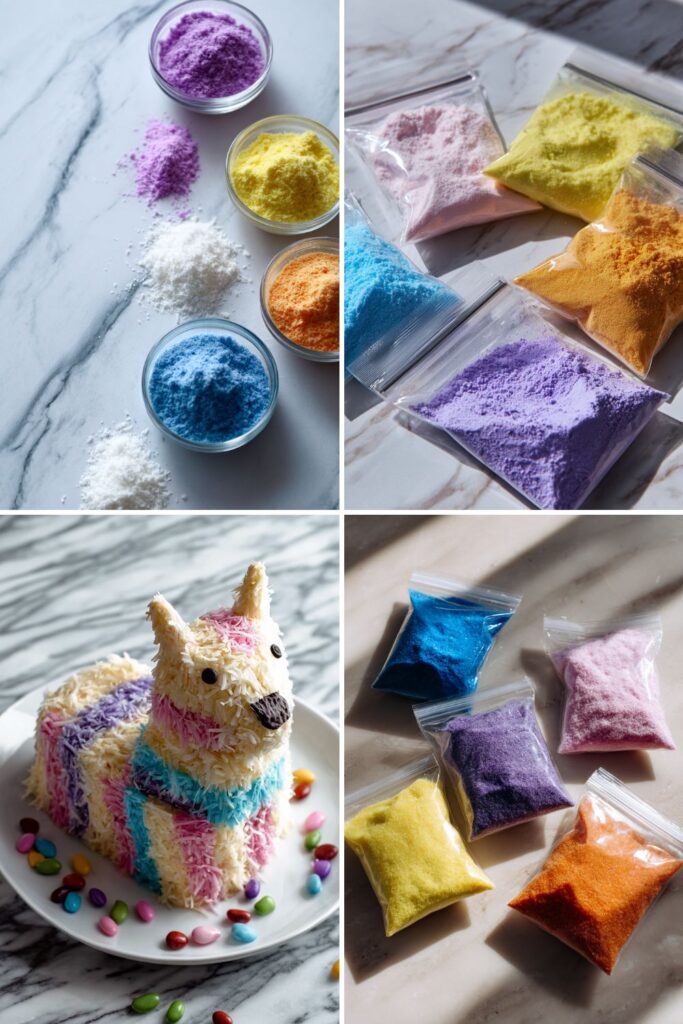
- Color the Coconut “Fur”: Divide the shredded coconut among 5 zip-top bags. Add a few drops of a different food coloring to each bag, then seal and shake vigorously until the coconut is brightly colored.
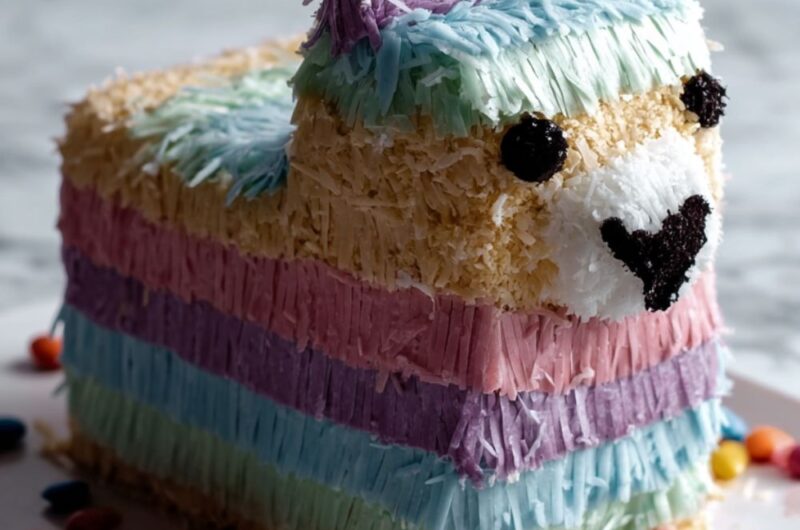
- Decorate the Piñata: Remove the cake pieces from the freezer. Frost and decorate the head and body separately with the vanilla frosting, then press on different colored stripes of the tinted coconut, pressing it gently into the frosting to create “fur.”
- Final Assembly: Place the finished body on a large, sturdy serving platter. Carefully set the finished head on the platter, nestled against the front of the body. Use the black icing to create the eyes and nostrils on the piñata’s snout.
Recipe Tips
- How do I add the candy “piñata” filling? The name is a double-meaning! To actually fill it with candy, take the “body” cake (the one without the cone) after you’ve trimmed it flat. Use a spoon to scoop out a long, shallow trench in the (now) top of the cake. Fill this trench with your small candies (like M&Ms or jelly beans). When you frost and decorate, the candy will be hidden inside!
- Why do I need to freeze the cake? Chilling or freezing the sculpted cake pieces for at least 30 minutes makes them very firm. This is a professional trick that makes the cakes much easier to frost, as they won’t crumble or tear.
- How do I get the brightest coconut “fur”? For the most vibrant color, use gel or neon food coloring, as liquid coloring can be too watery. Add a few drops to the bag, seal, and shake. If it’s not bright enough, add a few more drops.
- How do I keep the head and legs stable? Frosting is the “glue.” Use a generous dab of frosting to attach the cone “legs” and “ears.” When you attach the head to the body, a thick line of frosting between the two pieces will hold them together on the platter.
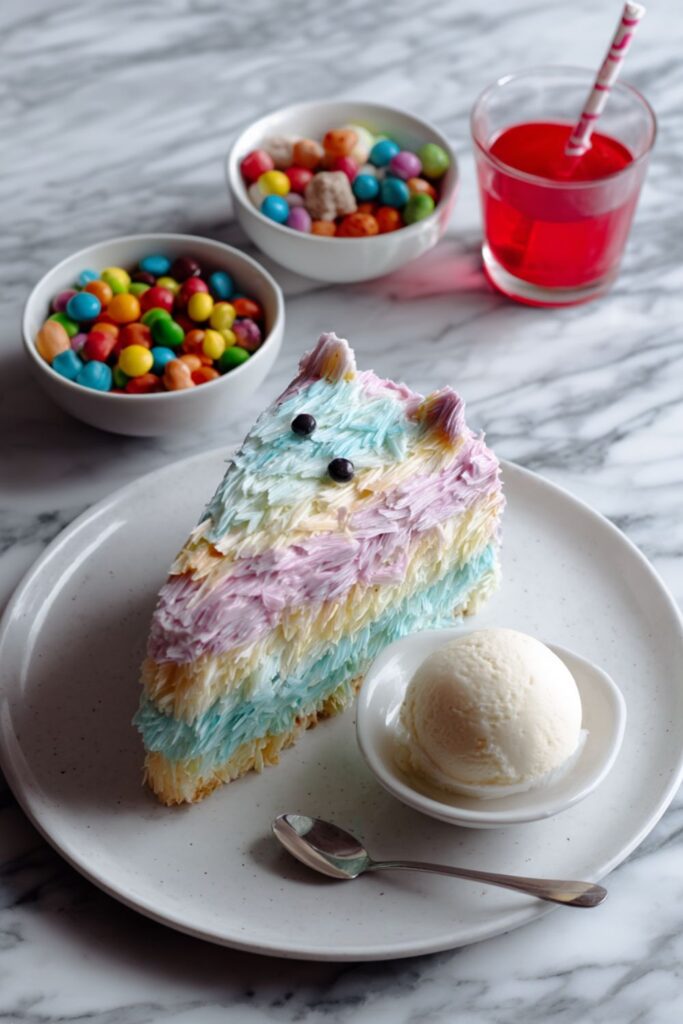
What To Serve With Piñata Cake
This cake is the centerpiece and the dessert all in one! It’s perfect for a kid’s birthday party.
- Scoops of vanilla ice cream
- A bowl of extra candies
- Colorful fruit punch or juice boxes
How To Store Piñata Cake
- Refrigerate: This cake is best assembled and served the same day, as it is a large centerpiece. Store any leftovers (if you can disassemble them) in an airtight container in the refrigerator for up to 3 days.
- Warning: Due to its size and delicate “legs” and “head,” this cake is not easy to store.
Piñata Cake Nutrition Facts
Nutrition information is highly variable and depends entirely on the specific brands of cake mix, frosting, and candies used. This is a celebratory treat meant for sharing.
Nutrition information is estimated and may vary based on ingredients and cooking methods used.
FAQs
Absolutely. You will need a sturdy cake, like a pound cake or a dense chocolate cake. A light, airy cake may not hold up to the sculpting and frosting.
Do not transport this cake fully assembled. It will break. Transport the frosted head and frosted body in separate, large containers. Bring your black icing and extra frosting with you, and do the final assembly at the party location.
This is a “pull-apart” style cake. Let the birthday kid “break” the piñata by cutting into the head or body first. If you’ve hidden candy in the body, it will spill out for a fun surprise.
Piñata Cake Recipe
Course: DessertCuisine: AmericanDifficulty: Easy25
servings1
hour1
hour300
kcalA fun and festive party cake that looks just like a colorful piñata, made with a simple cake mix shortcut and decorated with tinted coconut.
Ingredients
2 (18.2-oz.) boxes chocolate cake mix
Ingredients for cake mix (oil, eggs, water)
7 wafer ice cream cones
2 (16-oz.) tubs vanilla frosting
3 (7-oz.) bags shredded coconut
5 gel food colors
Black icing
Assorted small candies (optional)
Directions
- Preheat oven to 325°F. Prepare cake mixes. Bake in two 9×5 loaf pans for 45 min.
- Insert one cone “snout” into one cake. Bake both for 10-15 min more. Cool completely.
- Trim the plain cake to be the “body.” Attach 4 cone “legs” with frosting.
- Cut the “snout” cake in half to create the “head.” Attach 2 cone “ears” with frosting.
- (Optional: Scoop out a trench in the “body” cake and fill with candy.)
- Freeze both body and head for 30 minutes to firm up.
- Tint 5 bags of coconut with the 5 different food colors.
- Frost the body and head separately, then cover in colorful stripes of the tinted coconut.
- Assemble on a platter by placing the head in front of the body.
- Use black icing to pipe on eyes and nostrils.
Notes
- Chilling the cake pieces before frosting is essential to prevent crumbling.
- This cake is very large; assemble it on its final serving platter as it will be difficult to move.
- For the “piñata” surprise, hollow out the body and fill it with candy before frosting.