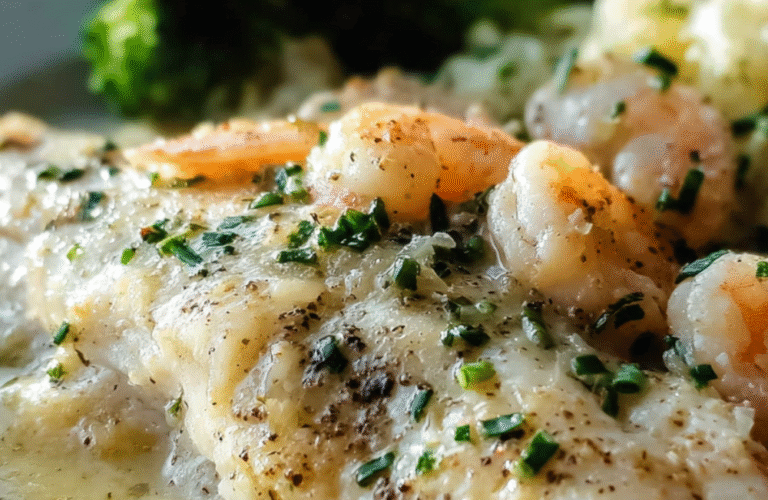
This is a straightforward homemade version of Olive Garden’s Tilapia and Shrimp — flaky fish, buttery shrimp, and a velvety cream sauce that tastes way fancier than the 25 minutes it takes to make. Light, low-carb-ish, and honestly… weirdly comforting.
Jump to RecipeQuick Summary
- Prep time: 5 mins
- Cook time: 16 mins
- Flavor: buttery, mild, just a kiss of cream
- Great for: last-minute dinners, date nights, something warm but not too heavy
Why I Like This Recipe
Honestly? I was just tired. Like, lay-on-the-floor kind of tired. But I wanted something warm, something that felt like I tried — even if I totally didn’t. Threw this together on autopilot and it was so simple, so cozy. Kinda felt like I was dining in… but wearing sweatpants.
Ingredients
- 2 fresh tilapia filets (4 oz each)
- 12 shrimp, peeled + tails off (thawed if frozen)
- ½ cup low sodium chicken stock
- 2 Tbsp heavy cream
- 1 Tbsp butter
- 1 tsp black pepper
- ½ tsp dried chives (or fresh if you’ve got ‘em)
How To Make Tilapia and Shrimp
- Bake the fish & shrimp: Lay it all out on a parchment-lined tray — shrimp on one side, tilapia on the other. Bake at 425°F for 6 mins. Flip everything. Back in for 4 more.
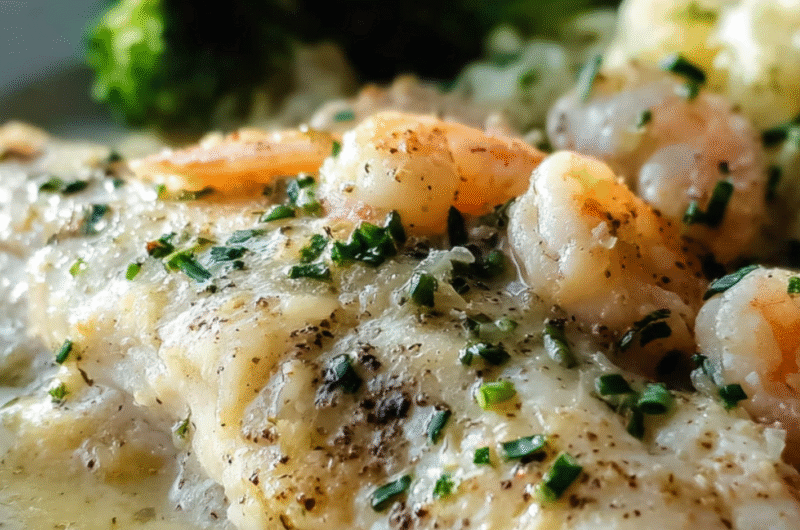
- Make the dreamy sauce: Simmer the chicken stock till it’s down by half (about ¼ cup). Stir in butter, cream, and chives. Let it bubble and thicken just a bit. It should coat the spoon.
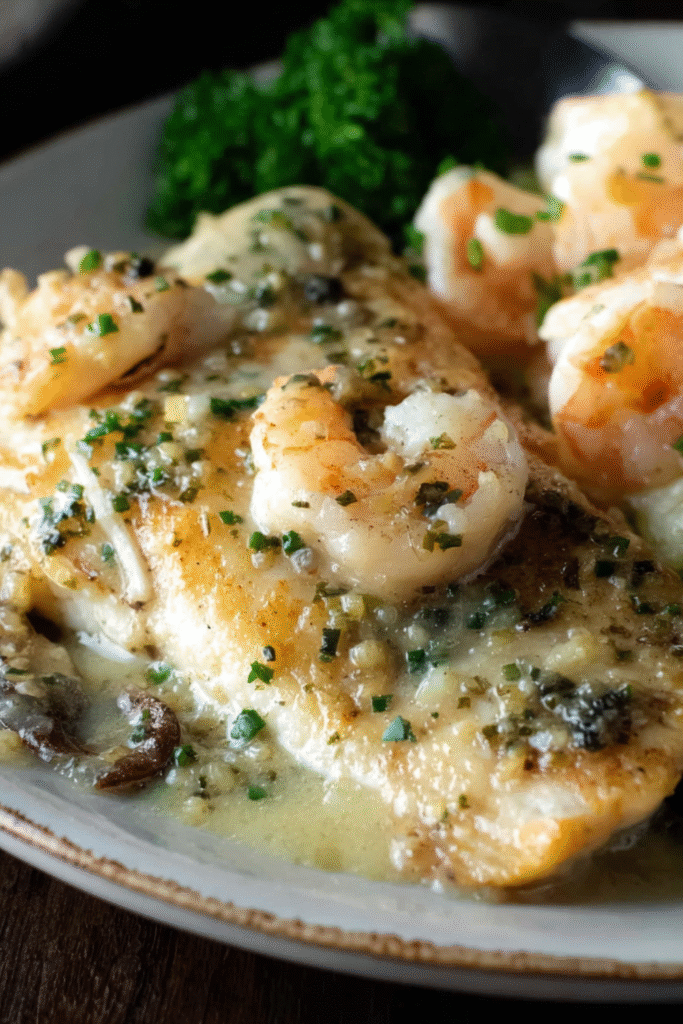
- Assemble like a pro: Plate the tilapia, stack the shrimp on top like you’re fancy, spoon the sauce over everything. That’s it.
Tips for Success
- Don’t overbake — 10 mins total is plenty. Fish should flake, shrimp just pink.
- Sauce too thin? Simmer a bit more. Too thick? Splash of stock.
- Use parchment so nothing sticks — or you’ll hate yourself during cleanup.
- Serve it fast. The sauce loves to settle in warm.
Storage and Reheating
- Fridge: good for a day or two — seafood doesn’t wait.
- Reheat gently: low heat in a pan with a splash of stock or cream. Microwave works but, meh, the sauce breaks.
- Freezer: nah, not for this one.
FAQs
Yup, just thaw it first.
Uh, absolutely. Drizzle life.
Use cod or even salmon — still works.
Always.
Pretty much, yeah. Just don’t serve it with breadsticks (unless you wanna, I won’t judge).
Common Mistakes and How to Dodge Them
- Fish dry and sad – baked too long. Pull it when it flakes.
- Shrimp rubbery – same deal. Watch ‘em like a hawk.
- Sauce separates – heat too high when adding cream. Go low and slow.
- Too salty – don’t reduce salted stock too much. Use low sodium.
- Forgot to line tray – now you’re scrubbing fish bits off metal. Never again.
Nutrition Facts (Per Serving)
- Calories: ~250 kcal
- Total Fat: 14 g
- Saturated Fat: 7 g
- Cholesterol: 150 mg
- Sodium: 300 mg
- Potassium: 400 mg
- Total Carbohydrate: 2 g
- Dietary Fiber: 0 g
- Sugars: 1 g
- Protein: 30 g
Tilapia and Shrimp Recipe
Course: DinnerCuisine: AmericanDifficulty: Easy2
servings5
minutes16
minutes250
kcalButtery baked tilapia topped with tender shrimp and drizzled in a creamy chive sauce — restaurant vibes in 20 minutes.
Ingredients
2 fresh tilapia filets (4 oz each)
12 shrimp, peeled + tails off (thawed if frozen)
½ cup low sodium chicken stock
2 Tbsp heavy cream
1 Tbsp butter
1 tsp black pepper
½ tsp dried chives (or fresh if you’ve got ‘em)
Directions
- Bake fish & shrimp together at 425°F — 6 mins, flip, 4 mins more.
- Simmer stock till halved.
- Add butter, cream, chives. Stir till dreamy.
- Stack shrimp on tilapia, spoon sauce on top. Done.
Notes
- Flip halfway — yes, it matters.
- Use low-sodium broth — lets you control the salt.
- Don’t skip the parchment unless you’re into stress.
- Best served fresh. Don’t let it sit too long